I loved my bridal bouquet and searched the internet for a way to make it a lasting keepsake in my home. There are a variety of options out there – I chose to make it into an ornament after seeing a post about it.
The issue was that the post did not provide good directions and no step by step guide…so with this post of mine, I hope to solve that problem. Please find below some photos of my DIY bridal bouquet into an ornament.
Step 1: Get supplies
I chose these 100mm large ornaments to make sure that all of the buds from my bouquet would fit. (Amazon link)

You will also need:
- scissors
- twine
- 4 toothpicks
Step 2: Hang your bouquet to dry
Hang your bridal bouquet in a cool, dry place for 3 to 4 weeks. My house is not even close to cool because I don’t have A/C, yet my fairly warm house did not seem to do the bouquet too much damage.
I hung my bouquet off of our garment rack using some twine.

Step 3: Prep your space
Now that it has been close to 4 weeks, prep your space to make your ornaments. Lay out a white towel an place your bouquet on top. The white towel allows you to see all the small petals that will fall off through the process, but don’t worry, you’ll just pop them into the ornament.

Step 4: Open the ornament
This is a challenging part of the project. You have to remove the top silver attachment so that you have access to the hole at the top. This is where you insert the dried flowers. The ornament is made for this, but you still must remove the silver top without breaking the glass. It can be done by pinching the top portion, where you would hang the ornament from, and pull it out slowly.
Step 5: Insert the flowers into the ornament
I first shook the bouquet to get the loose petals off. I put those into the ornament.

Unsurprisingly, whenever I set the ornament down, it would roll over, and some of the petals fell out. In order to prevent this, make a small square out of toothpicks and set the ornament in the center. This is not full proof, but it works more often than not.

I then began to cut off the heads of the flowers by slowly working my way around the bouquet. I added the flowers into the ornament as I went.


Step 6: Insert more flowers into the second ornament
Once the first ornament is near full, start to add some flowers to the second ornament.

This way you can make sure both ornaments have the same amount of flowers.

Step 7: Reattach the silver piece
This again proved challenging. I found pinching the top of the silver piece and pushing one of its legs into the ornament, followed by the second leg, worked well.
Step 8: Hang your ornament
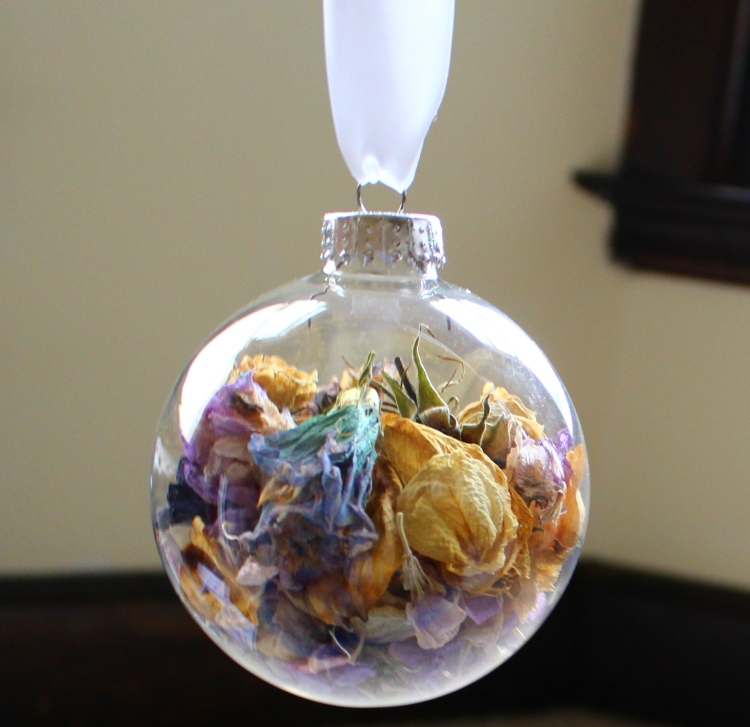
My bouquet came with a lovely white ribbon. I chose to make this the ribbon that the ornaments would hang from. I cut it in half, threaded it through the top, and hung my ornaments.


Final Product:

Next project…make something out of the jewels that held the whole bouquet together: